PRO-SET Adhesives

Great for Assemblies◾Wide variety◾No welding, fasteners or rivets needed
PRO-SET Assembly adhesives are pre-thickened, two-part epoxy adhesives used for secondary bonding of laminated composites as well as steel, aluminum, cast iron, concrete, stone, and most woods. Need help with surface preparation? Read our instructions below.

P/N
Pattern
Materials
Inside Dimension
Outside Dimension
Wall
Price
-
 Pro-Set Adhesive Resin (Black) - 1 QT / 0.95 LitersSKU: ADV-175-BK-0$64.99SKU: ADV-175-BK-0
 -
 Pro-Set Adhesive Resin (Tinted Yellow) - 1 quart - *Ships via PartnerSKU: ADV-175-QC-0$57.39SKU: ADV-175-QC-0
 -
 Pro-Set Adhesive Resin (Tinted Yellow) - 4.5 gallon - *Ships via PartnerSKU: ADV-175-QC-2$503.99SKU: ADV-175-QC-2
 -
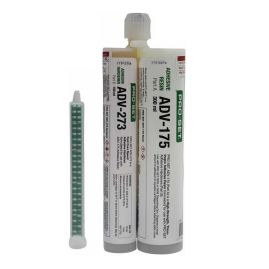
 Adhesive- Cartridge - Fast Adhesive (Black) - Pro-Set - 1 Ea / 450 mlSKU: ADV-175/273-BK$55.99SKU: ADV-175/273-BK
 -
 Pro-Set Fast Adhesive (No Color) - *Ships via PartnerSKU: ADV-175/273-NC$55.99SKU: ADV-175/273-NC
 -
 Pro-Set Fast Adhesive (Tinted Yellow/Blue) - *Ships via PartnerSKU: ADV-175/273-QC$55.99SKU: ADV-175/273-QC
 -
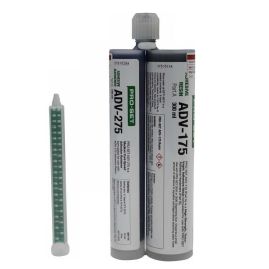 Adhesive- Cartridge - Medium Adhesive (Black) - Pro-Set - 1 Ea / 450 mlSKU: ADV-175/275-BK$55.99SKU: ADV-175/275-BK
 -
 Pro-Set Medium Adhesive (No Color) - *Ships via PartnerSKU: ADV-175/275-NC$55.99SKU: ADV-175/275-NC
 -
 Pro-Set Medium Adhesive (Tinted Yellow/Blue) - *Ships via PartnerSKU: ADV-175/275-QC$55.99SKU: ADV-175/275-QC
 -
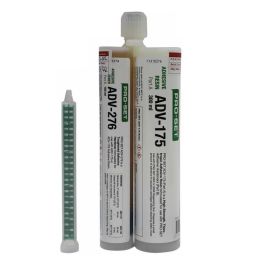
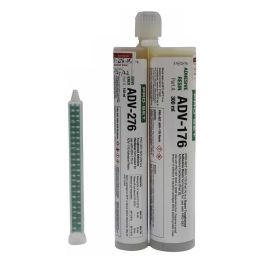
 Adhesive- Cartridge - Toughened Adhesive (Black) - Pro-Set - 1 Ea / 450 mLSKU: ADV-175/276-BK$58.99SKU: ADV-175/276-BK
 -
 Pro-Set Toughened Adhesive (No Color) - *Ships via PartnerSKU: ADV-175/276-NC$58.26SKU: ADV-175/276-NC
 -
 Pro-Set Toughened Adhesive (Tinted Yellow/Blue) - *Ships via PartnerSKU: ADV-175/276-QC$58.26SKU: ADV-175/276-QC
 -
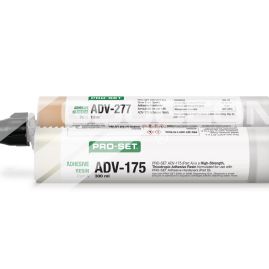
 Pro-Set ADV-175/277-BK Slow Adhesive (Black) - 450 mlSKU: ADV-175/277-BK$55.99SKU: ADV-175/277-BK
 -
 Pro-Set ADV-175/277-NC Slow Adhesive (No Color) - *Ships via PartnerSKU: ADV-175/277-NC$55.99SKU: ADV-175/277-NC
 -
 Pro-Set ADV-175/277-QC Slow Adhesive (Tinted Yellow/Blue) - *Ships via PartnerSKU: ADV-175/277-QC$55.99SKU: ADV-175/277-QC
 -
 Pro-Set Super Toughened Adhesive Resin (Black) - 1 QT / 0.95 LitersSKU: ADV-176-BK-0$115.99SKU: ADV-176-BK-0
 -
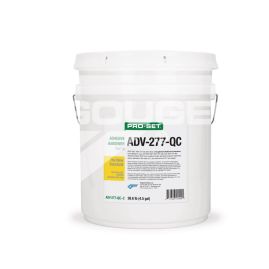
 Pro-Set Super Toughened Adhesive Resin (Tinted Yellow) - 4.5 gallon - *Ships via PartnerSKU: ADV-176-QC-2$1,195.89SKU: ADV-176-QC-2
 -
 Pro-Set ADV-176/276-BK Super Tough Adhesive (Black)SKU: ADV-176/276-BK$76.50SKU: ADV-176/276-BK
 -
 Pro-Set ADV-176/276-NC Super Tough Adhesive (No Color) - *Ships via PartnerSKU: ADV-176/276-NC$76.50SKU: ADV-176/276-NC
 -
 Pro-Set ADV-176/276-QC Super Tough Adhesive (Tinted Yellow/Blue) - *Ships via PartnerSKU: ADV-176/276-QC$76.50SKU: ADV-176/276-QC
 -
 Pro-Set Fast Adhesive Hardener (Tinted Blue) - 1 PINT / 0.47 LitersSKU: ADV-273-QC-0$63.99SKU: ADV-273-QC-0
 -
 $1,128.99SKU: ADV-273-QC-2
 -
 $1,084.99SKU: ADV-275-QC-2
 -
 Pro-Set Toughened Adhesive Hardener (Tinted Blue) - 4.5 gallon - *Ships via PartnerSKU: ADV-276-QC-2$1,320.99SKU: ADV-276-QC-2
 -
 $930.99SKU: ADV-277-QC-2